


Harold Hall
Metalworking
Workshop Set Ups
Sharpening lathe tools, Setups. Harold Hall



All pictures can be clicked on to provide a larger view


1
2


3
4

5

6
7


8

9
Sharpening workshop tooling is probably the most diverse task in the home workshop both with the number of quite different tools to be sharpened and with the contrasting methods of carrying out the task. This could be anything between just holding the tool manually to using an industrial tool and cutter grinder.
I am showing just two common lathe tools being sharpened and being done using my advanced grinding rest.
Photo 1 shows a knife tool after sharpening and rather than using the recognised terms for the three faces I am calling them front, top and end.
Photo 2 shows the front face being ground with the rest tilted to provide one angle whilst the position of the holder on the swivel base sets the angle relative to the length of the tools shank. This angle is maintained as the swivel base slides along the side of the fence to its left.
Photo 3 shows the end face being ground with the top face being ground in
Photo 4.
Whilst some will grind tools by hand I could not myself achieve the result seen if I attempted it myself. For more details on this, also sharpening other workshop tools, follow this LINK
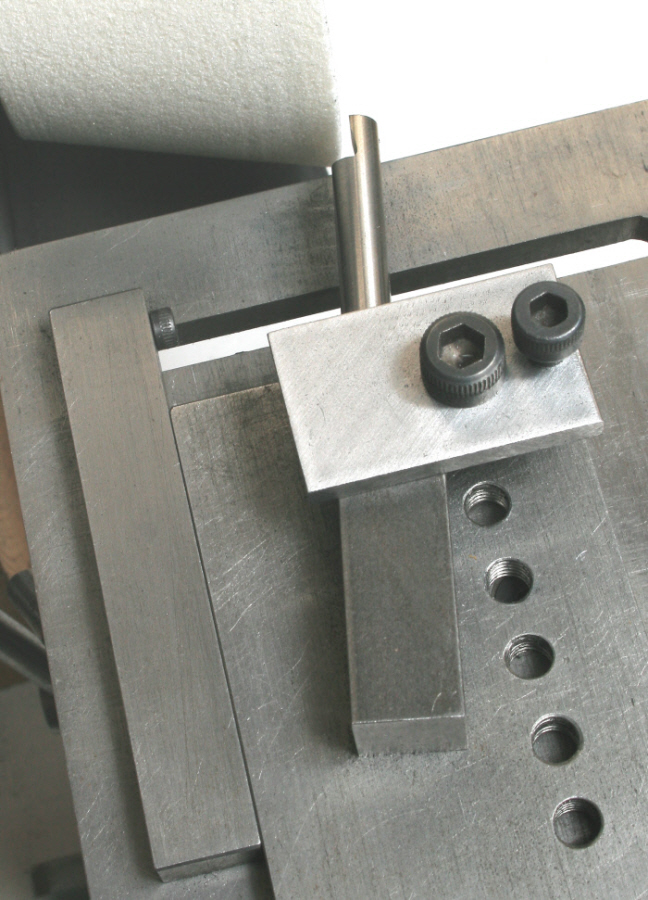
Photo 5 shows three boring tools ground using the rest and having shank diameters of 4, 5 and 6mm. Photo 6 shows the top face being ground with the front face being ground in Photo 7.
Photo 8 shows the shank being thinned on one side and the end face being ground on Photo 9.
For each face the angles are set by the angle of the rest and the angle of the tool on the swivel base. For more details on grinding boring tools follow this LINK
For more details of the grinding rest seen in the setups follow this LINK
The setups shown are using my advanced grinding rest for the tasks being undertaken. However, my basic grinding rest works very similarly and will, with just a little extra care, produce equally good results using the same methods.